
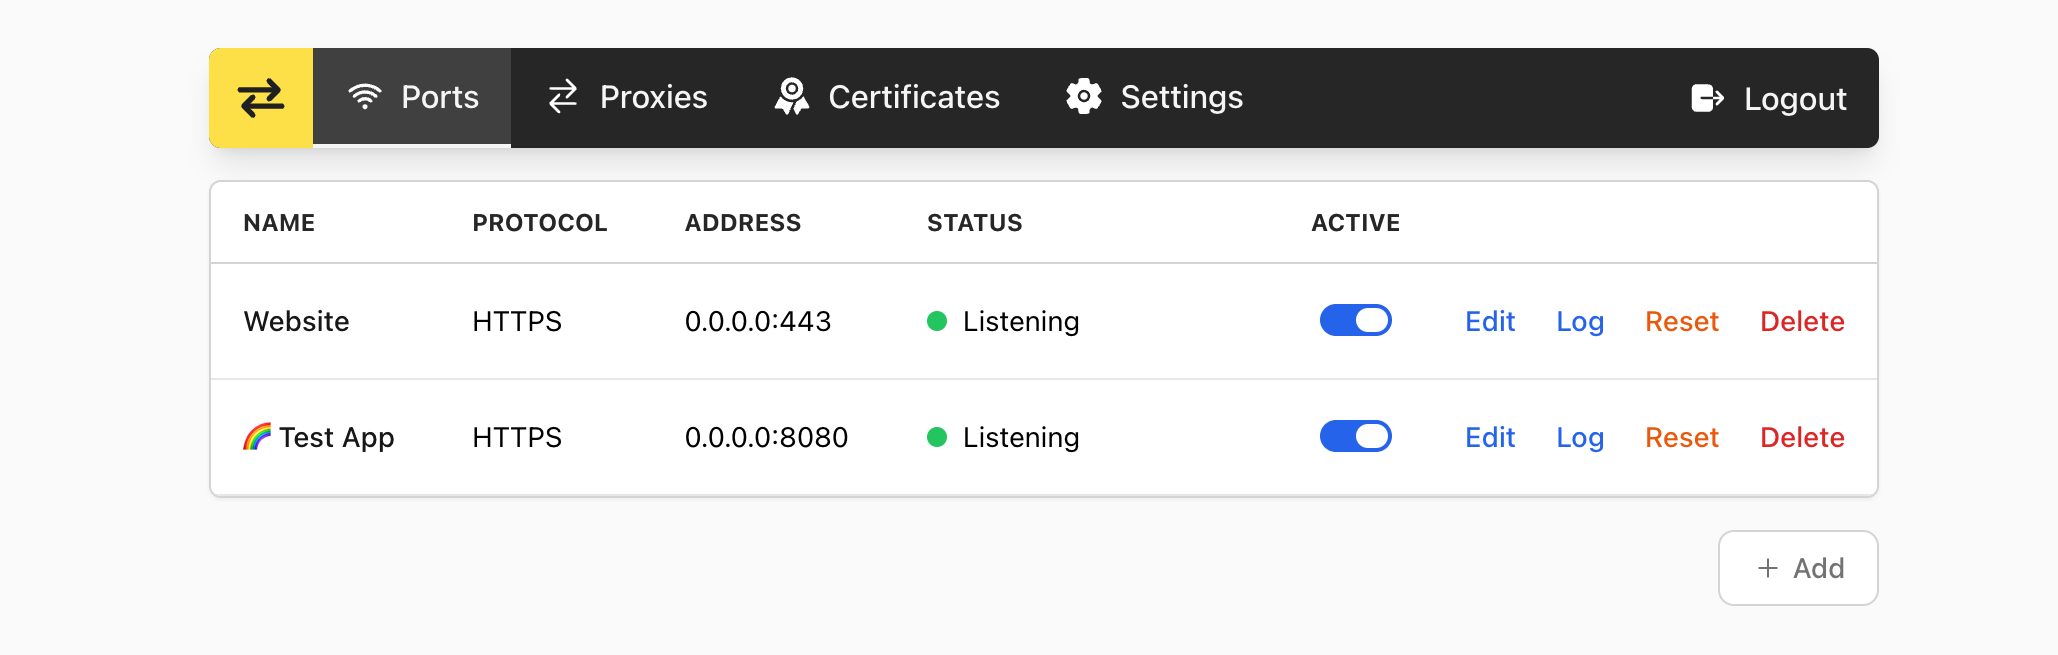




Key Features
Proxying
- TCP, UDP, TLS, HTTP/1.1 and HTTP/2 proxies, including HTTP upgrades and WebSocket, built with Rust on tokio and hyper
- Partial HTTP/3 support: incoming QUIC connections only. Upstream connections use HTTP/2 or HTTP/1.1, and WebTransport is not supported
- Routing by host name (exact, wildcard or regex) and path, with path rewrite, redirect rules and fixed responses such as a redirect host or a 404 host
- Load balancing, active and passive health checks, a circuit breaker, sticky sessions, retries, upstream timeouts and traffic mirroring
- Upstream servers from DNS SRV records (
http+srv://URLs), refreshed when the TTL expires - The PROXY protocol on incoming connections and toward upstream servers
Security and traffic control
- IP allow and deny lists, per-client rate limits, a request body size limit and real client IP resolution behind known CDNs and trusted proxies
- Basic, Bearer, forward and admin session authentication, and shared access lists
- Request and response header rules, response compression (brotli, zstd and gzip) and an in-memory HTTP cache
Certificates
- Server, client and root certificates, uploaded or self-signed
- Mutual TLS: client certificate verification on TLS ports and client certificates toward upstream servers
- ACME v2 (for example Let's Encrypt) with the HTTP-01, TLS-ALPN-01 and DNS-01 challenges. DNS-01 issues wildcard certificates through 12 DNS provider APIs, a webhook, an exec command or RFC 2136
- Certificate expiry warnings and webhook notifications
Operations
- A single binary with a built-in WebUI in English and Turkish. Configuration changes apply without a restart
- An admin API with an OpenAPI document and a Swagger UI (Admin API)
- Accounts with the
admin,editorandviewerroles, per-account proxy lists and an audit log (Accounts) - Service discovery from Docker labels, Kubernetes Ingress and
R3v3rs3Proxyresources, Consul and etcd (Service Discovery) - High availability: several nodes share one encrypted state in etcd or Consul (Setup guide, Cluster)
Installation
There are multiple ways to install r3v3rs3.
Linux server
install.sh installs the latest release binary (x86_64 or aarch64) with its sha256 check, creates the admin account and runs r3v3rs3 as a systemd service:
curl -fsSL https://raw.githubusercontent.com/KilimcininKorOglu/r3v3rs3/main/install.sh | sudo bash
Installing on a Linux Server covers the options, the paths, the upgrade and the removal.
Docker
One container with two volumes:
docker run -d \
  -v r3v3rs3-config:/root/.config/r3v3rs3 \
  -v r3v3rs3-data:/root/.local/share/r3v3rs3 \
  -p 80:80 \
  -p 443:443 \
  -p 127.0.0.1:46492:46492 \
  --restart unless-stopped \
  --stop-signal SIGINT \
  --name r3v3rs3 \
  ghcr.io/kilimcininkoroglu/r3v3rs3:latest
Installing with Docker covers each option, the admin account, Docker Compose and the upgrade.
Cargo binstall
cargo-binstall automatically downloads and installs pre-built binaries for your platform. If there is no pre-built binary available, it will fall back to cargo install.
You need to install cargo-binstall first.
Then you can install r3v3rs3 with:
$ cargo binstall r3v3rs3
Cargo install
You need to have the Rust toolchain installed. If you don't, please follow the instructions on rustup.rs.
The package on crates.io comes bundled with the WebUI as a static asset. Thus, you don't need to build it yourself (which would require trunk and wasm toolchain).
$ cargo install r3v3rs3
GitHub Releases
Alternatively, you can directly download the latest pre-built Linux binaries (x86_64 and aarch64) from the releases page.
You simply put the extracted binary somewhere in your $PATH and you're good to go.
Development
Please refer to the Development section for details.
First Setup
Create an admin account, start the server and build your first proxy with the Getting Started guide.